You’ve finally done it. You’ve built the perfect Shopify store and now it’s time to make it live. But how? There are a few key steps you need to take to make sure your store is up and running smoothly. In this blog post, we’ll walk you through everything you need to do to get your Shopify store live, from choosing a domain name to setting up your payment gateway. By the end of this post, you’ll be ready to hit the “publish” button with confidence. So let’s get started!
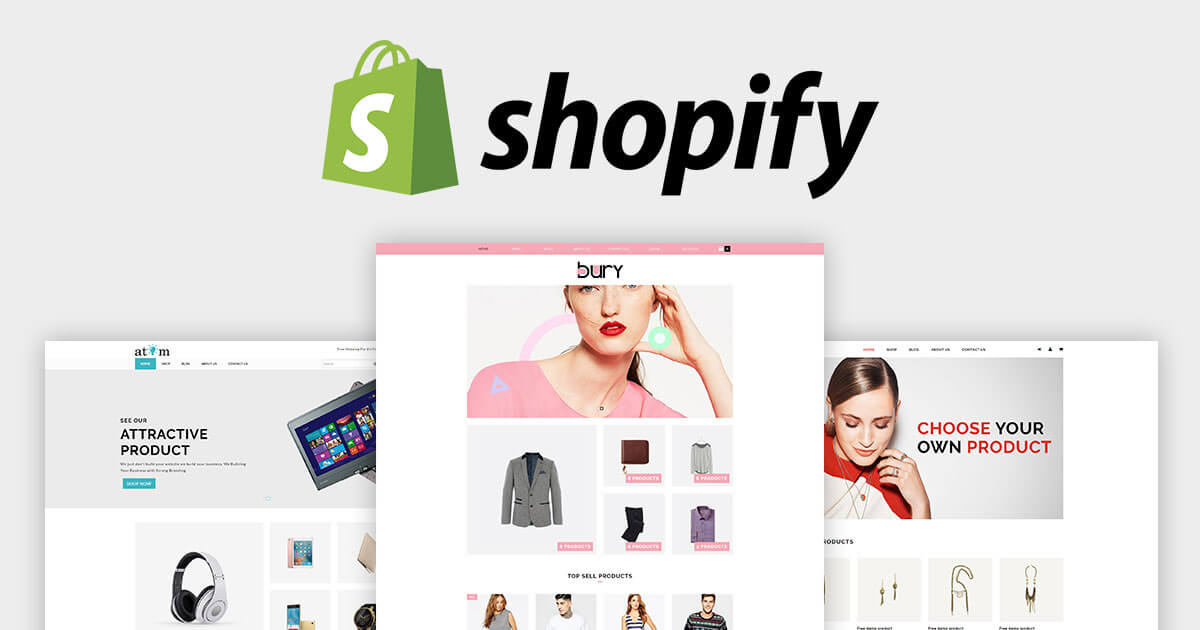
How to Make Shopify Store Live
You’ve put in the hard work. You’ve created a fantastic Shopify store, complete with products, collections, and blog posts. Your store is ready to launch…but there’s just one problem. You don’t know how to make it live. Fortunately, making your Shopify store live is a relatively easy process. In this blog post, we will walk you through the steps of making your Shopify store live so that you can start selling products and generating revenue.
Assuming you have completed all the previous steps in this guide, it’s now time to make your Shopify store live. This is a simple process that can be completed in just a few minutes.
- Log into your Shopify admin panel and navigate to the ‘Settings tab.
- Scroll down to the ‘Store status’ section and select ‘Make my store public’.
- Click ‘Save changes and your Shopify store will be live!
How to activate Shopify store
Assuming you have already signed up for a Shopify account, here are the instructions on how to make your Shopify store live:
- Log in to your Shopify admin panel.
- Click “Online Store” from the left sidebar, then click “Domains” from the sub-menu.
- Enter your domain name in the box and click “Add domain”. If you don’t have a domain name yet, you can purchase one through Shopify or use a free domain name from a third-party provider such as Google Domains or Amazon Route 53.
- Select the newly added domain from the drop-down menu and click “Save”.
- That’s it! Your Shopify store is now live at your chosen domain name.
Choose your Shopify plan
There are four Shopify plans available:
- Shopify Lite – $9 per month
- Basic Shopify – $29 per month
- Shopify – $79 per month
- Advanced Shopify – $299 per month
Shopify Lite is the most basic plan and is best suited for those just getting started with online selling. With this plan, you can sell through existing platforms such as Facebook and Instagram. There is no online store included with this plan; rather, it allows you to connect your existing platform to your Shopify account so you can start taking payments. If you’re not ready for a full-fledged online store but want to start dipping your toes into eCommerce, this is a good place to start.
Basic Shopify is the next step up and gives you everything you need to create a fully functioning online store. This plan includes an SSL certificate, domain name registration, and access to Shopify’s POS system for in-person sales. If you’re ready to start taking your business seriously and want to have an online presence, this is the perfect plan for you. Prices start at just $29 per month.
Shopify is our most popular plan and gives you everything you need to build a successful online business. This plan includes all of the features of Basic Shopify, plus additional features such as abandoned cart recovery and professional reports. If you’re looking to take your business to the next level, this is
Pick a domain name for your store
Your domain name is how customers find your online store. It’s also how you’ll be known on Shopify. Picking a good domain name is essential to the success of your business.
The best domain names are:
1. Easy to remember
2. Short and sweet
3. Descriptive of your brand or what you sell
4. Memorable
5. Easy to spell and pronounce
6. Available as a .com (or the appropriate country code for your business)
To get started, brainstorm a list of potential domains with these criteria in mind. Once you have a list of potential domains, it’s time to check their availability. You can do this by searching for the domain on a domain name registrar like Shopify’s Domain Name Registrar powered by Hover.
How to launch the Shopify theme

- Before you launch your Shopify theme, you need to make sure that you have everything ready to go. This includes all of your products, your inventory, shipping, and payment information.
- Once you have everything set up and ready to go, you can launch your Shopify theme by going to the “Themes” tab in your Shopify admin panel.
- From there, you can either upload your own theme or select one from the Shopify Theme Store. If you choose to upload your own theme, make sure that it is compatible with Shopify before you do so.
- Once you’ve selected or uploaded your theme, it’s time to start customizing it to fit your brand and style. You can do this by going to the “Customize Theme” page in your Shopify admin panel.
- Here, you’ll be able to change things like colors, fonts, layout, and more. Make sure that you save your changes before you exit this page.
- The last thing that you need to do before launching your Shopify store is to add some content to it. This can be done by adding pages, blog posts, products, and collections.
- Once you’ve added all of the content that you want, simply click on the “Publish” button in the upper right-hand corner of the screen and your Shopify store will go live!
How to make Shopify store not live
If you’re using Shopify to build an online store, there are a few things you need to do to make sure your store is live. First, you need to sign up for a Shopify account and choose a plan. Once you’ve done that, you can start adding products and configuring your store. However, if you want to make sure your Shopify store is not live, there are a few things you can do. First, you can delete your Shopify account. This will remove all of your data from Shopify’s servers and prevent anyone from accessing your store.
You can also unpublish your store from the Shopify admin. This will hide your store from the public but keep all of your data intact. You can republish your store at any time by following the same process.
How to remove storefront password Shopify
If you’re using a Shopify theme that doesn’t have a password page enabled by default, then you can follow these steps to remove the password from your storefront:
- Log in to your Shopify admin and go to Online Store > Themes.
- Find the theme that you want to edit and click Edit code.
- In the Layout directory, click on the theme. liquid file.
- Look for the “password” tag and remove it. If you don’t see a “password” tag, then your theme doesn’t have one and you don’t need to do anything further.
- Save your changes and refresh your storefront to see the results!
Shopify launch checklist

- Choose a Shopify plan:
Shopify has 3 different plans: Basic Shopify, Shopify, and Advanced Shopify. If you’re just starting out, we recommend the Basic Shopify plan. As your business grows, you can always upgrade to a more advanced plan. - Pick a theme for your online store:
There are many themes to choose from on the Shopify Theme Store. We recommend picking a theme that is responsive (meaning it will look good on both desktop and mobile devices), and that has been updated recently. - Add your products:
Now it’s time to add your products! You can either add them one at a time or in bulk using a CSV file. Be sure to fill in all of the relevant product information, such as descriptions, pricing, variants, etc. - Configure your shipping and taxes:
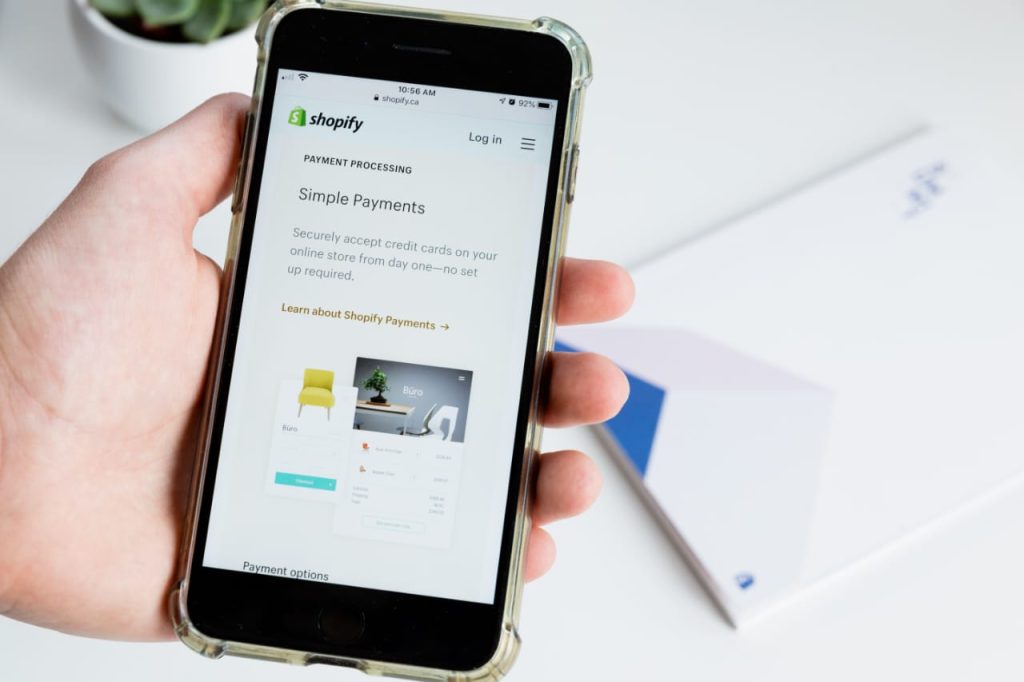
Now you need to set up shipping and taxes for your store. This can be a bit daunting if you’ve never done it before, but luckily Shopify has some great resources to help you out. - Choose a payment gateway:
Shopify supports over 100 different payment gateways, so you should have no problem finding one that works for you. Some of the most popular options include PayPal, Stripe, and Authorize.net. - Launch your store!
Once you’ve completed all of the
How to make Shopify store live
Assuming you have already signed up for Shopify, the first thing you need to do is choose a plan. Shopify has three different plans, which are:
Basic Shopify – $29 per month
Shopify – $79 per month
Advanced Shopify – $299 per month
Once you have chosen your plan, you need to add your domain name. If you don’t have a domain name, don’t worry, because Shopify will give you one for free. The next step is to choose your theme. Again, if you don’t have a theme in mind, don’t worry, because Shopify has a wide selection of themes for you to choose from.
After you’ve chosen your theme, it’s time to add your products. You can either add them manually or import them from another platform (such as Amazon). Adding products is simple and straightforward; just follow the instructions on the screen.
Once you’ve added all your products, it’s time to set up your payment methods. Shopify supports a wide range of payment methods, so chances are good that whatever payment method you want to use is supported. The last step is to launch your store! Just click the “Launch” button on the main dashboard and your store will go live.